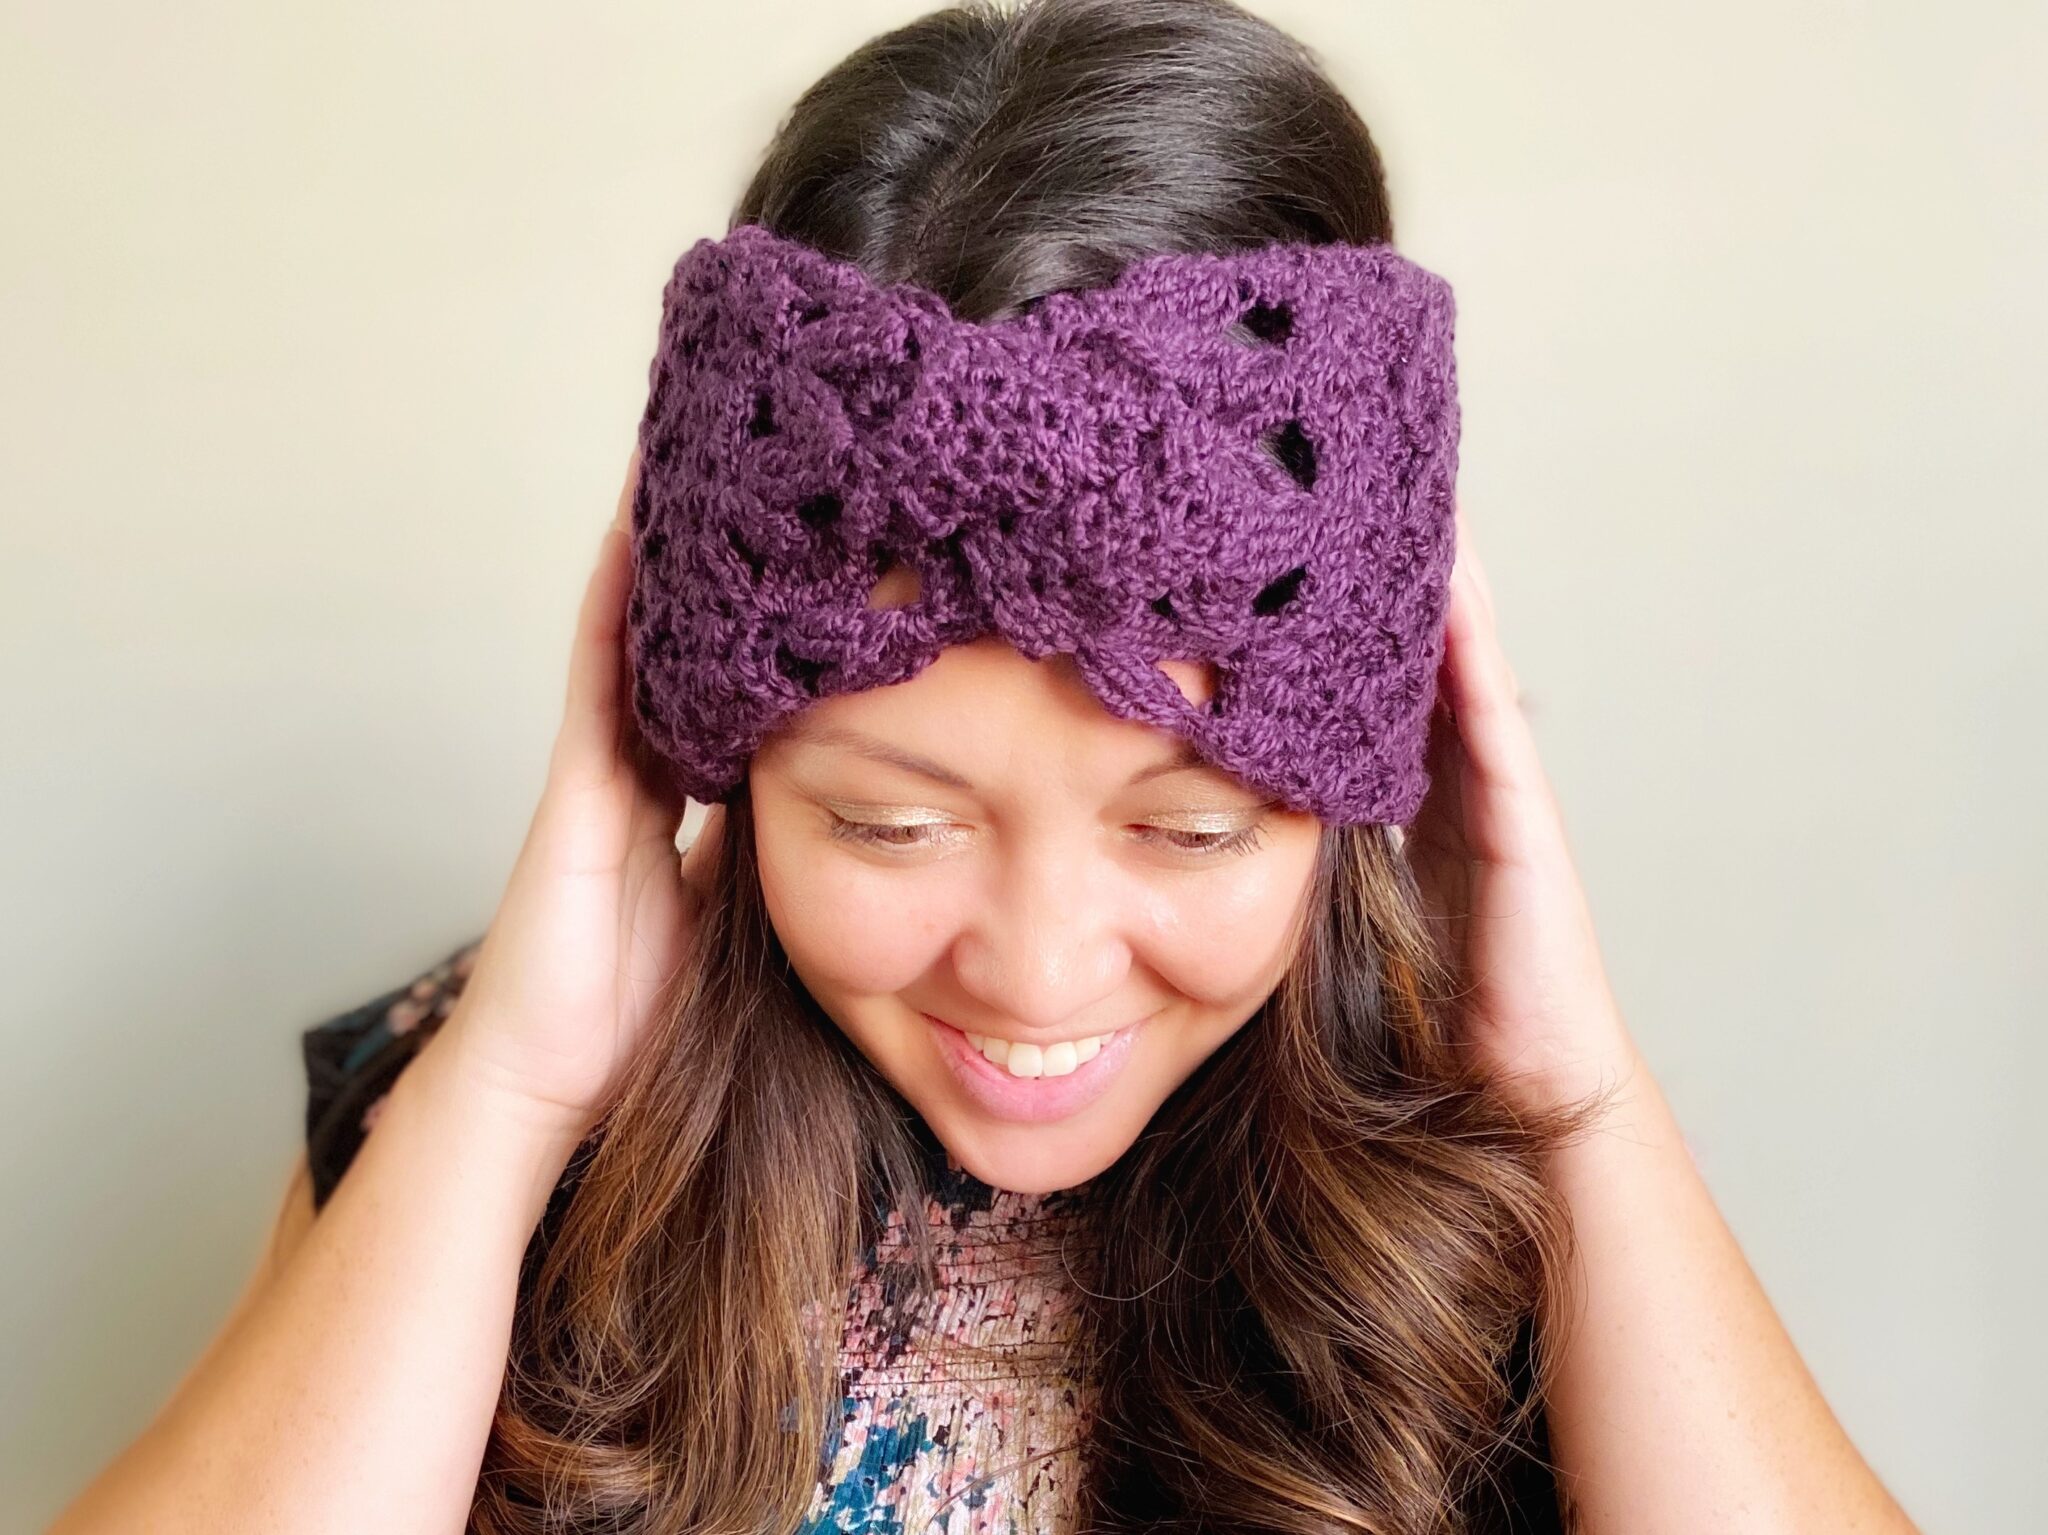
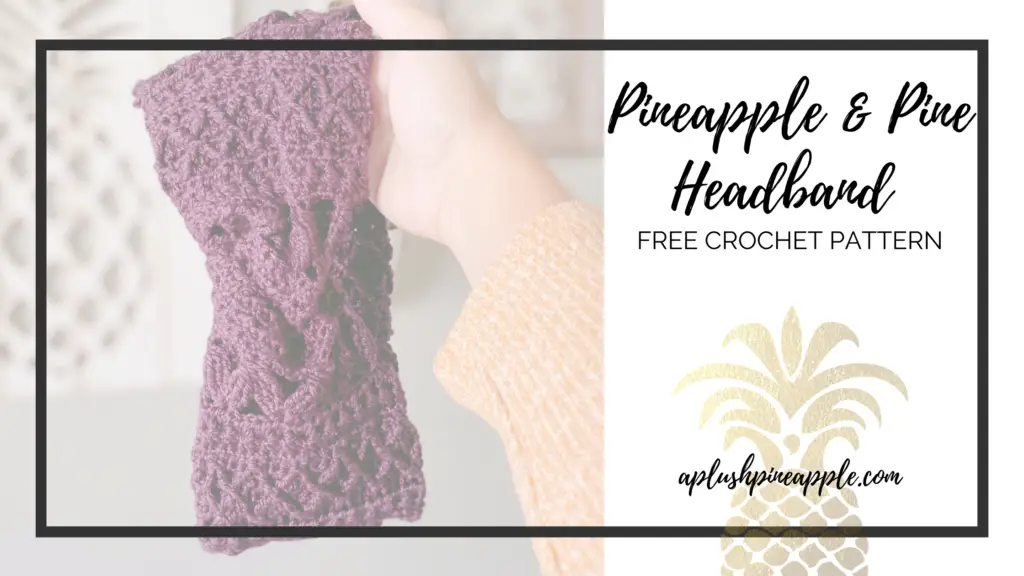
Crochet a beautiful stitch sampler headband for cozy warmth during the cool fall and winter months with this free crochet headband pattern.
Adopt the pace of nature; her secret is patience.
Ralph Waldo Emerson
Don’t you wish you could wave a magic wand, and your project be completed?
We’ve all seen ’em. The short videos that are so popular on social media right now where someone takes a skein of yarn, snaps their fingers, and “POOF!” a finished crochet piece magically materializes in an instant.
We know full well that in all actuality, the person had to spend hours of crocheting before she could make that video, but still the thought of a project taking that fraction of a second’s worth of time is so enticing.
But what of the process? If we really could snap our fingers and have a finished piece in our hands, where would be the joy of making it? We would be missing out on the journey of creating a beautiful piece where each stitch is worked with love and care. There would be no fulfillment of mastering each new stitch pattern that comes our way. I daresay, the after yarn glow that we all have come to know and enjoy so much would simply disappear.
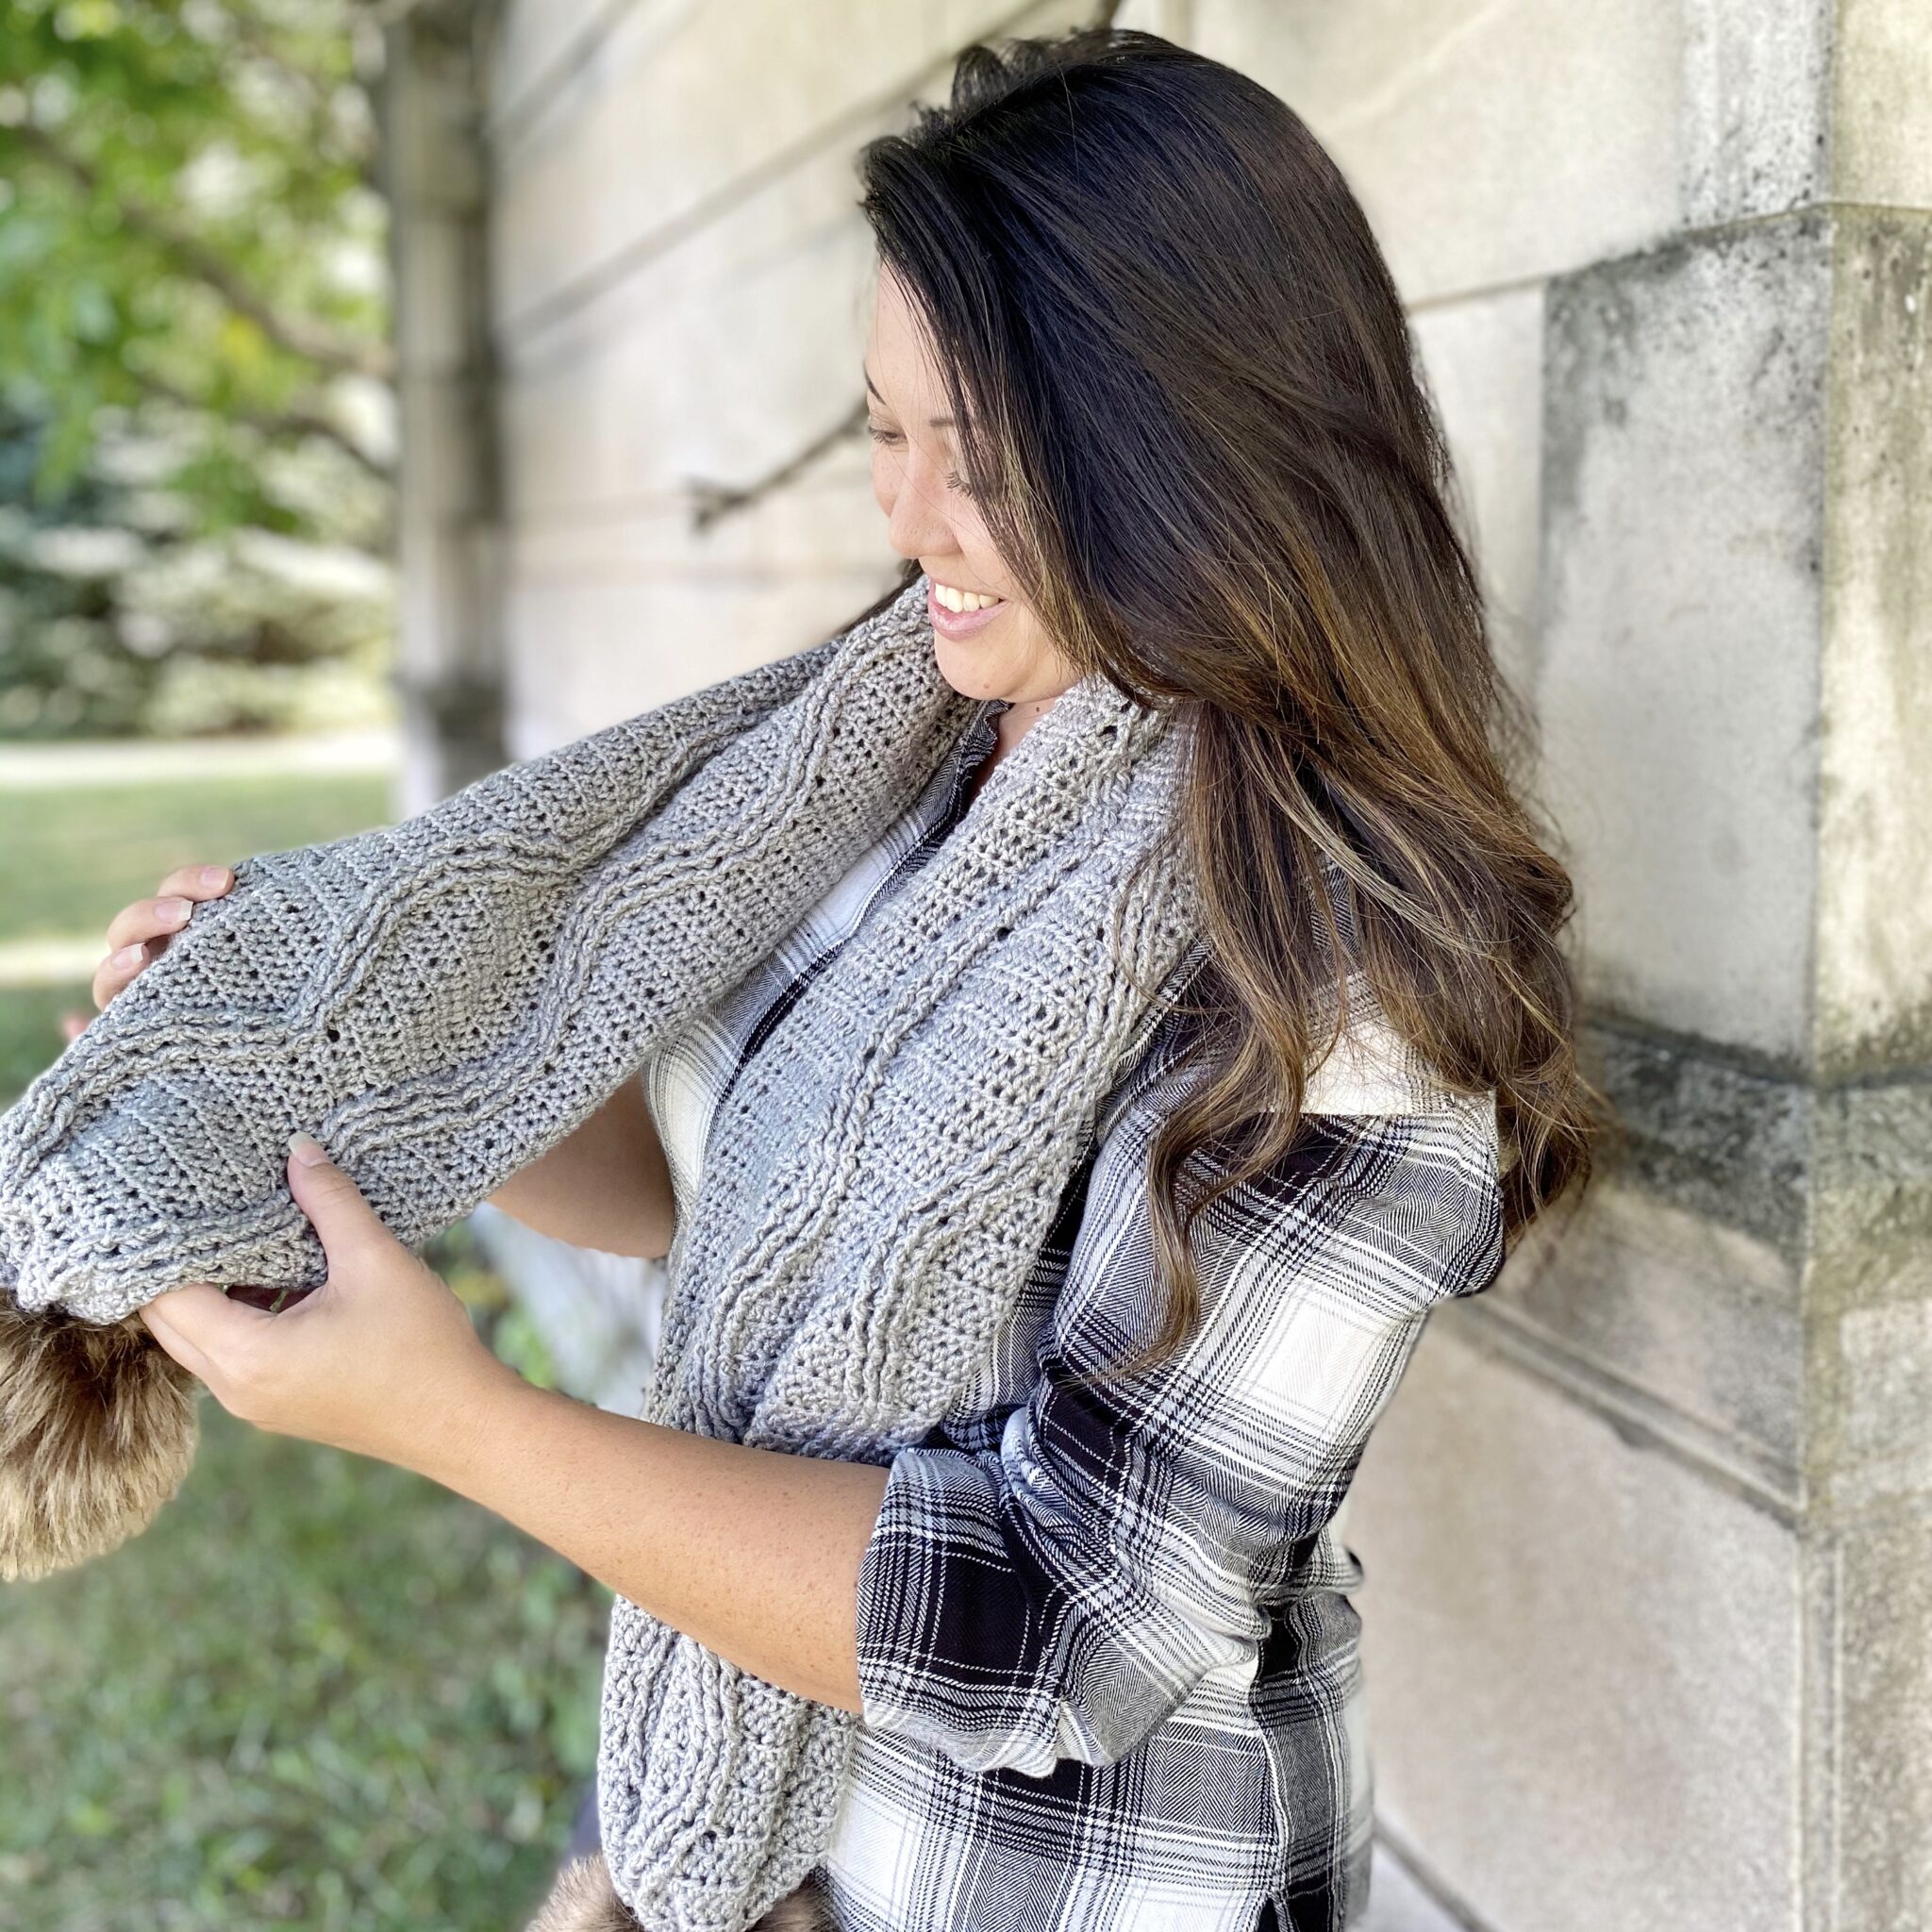
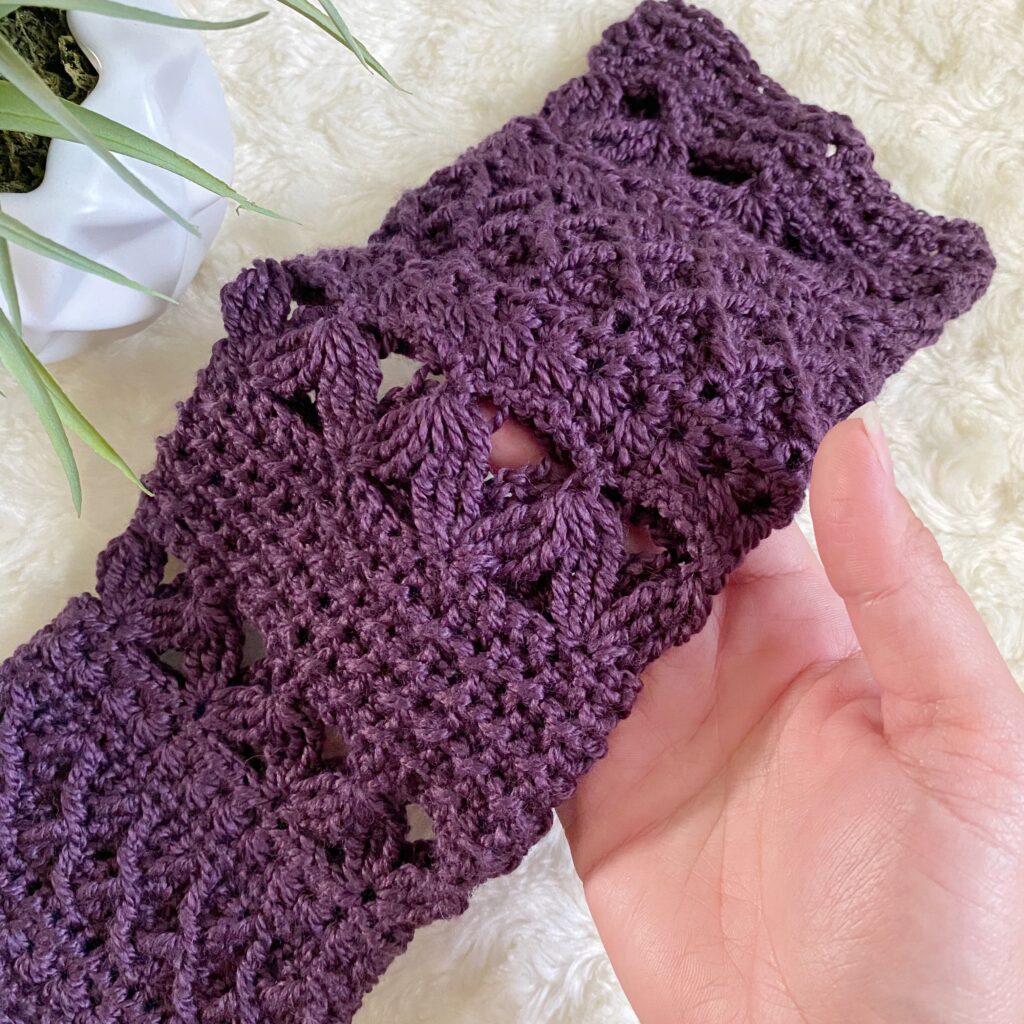
When Kelsie and I originally created this stitch pattern as a representation of our new community Pineapple & Pine, we wanted the pattern to take you on a journey. Each stitch speaks of something that we connect with in nature that we feel is a representation of our brand and our personality.
You can find all of the inspo behind the stitches that we chose in the original patterns The Pineapple & Pine Scarf or The Pineapple & Pine Cowl. I hope that in making this new version as a free crochet headband pattern, you can truly experience…
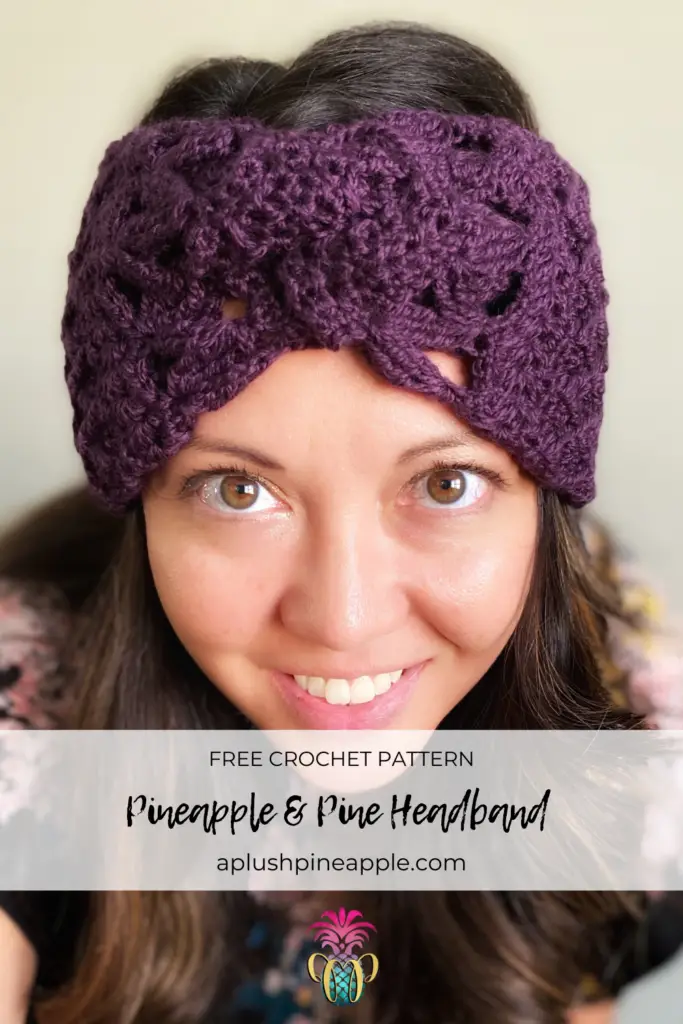
…the joy of the journey!

Skill Level – Intermediate
Materials
Disclaimer: This post contains affiliate links to the products used in this project. If you make a purchase through any of these links, we will get a small commission at no additional cost to you.
- Sport (2) weight yarn – I used Galileo by We Crochet Official in the color way Galaxy
- Newborn – Approximately 130 yards
- Baby – Approximately 160 yards
- Child – Approximately 190 yards
- Approximately 260 yards
- US 7/4.50mm crochet hook (or hook necessary to meet gauge)
- Tapestry needle
- Scissors
- Measuring tape
Abbreviations
- YO – Yarn over
- CH – Chain
- HDC – Half double crochet
- SL ST – Slip stitch
- DTR – Double treble crochet
- DTR Group – Three double treble crochet into one stitch
- SK – Skip
- DTRGroup2tog – Two groups of double treble stitches crocheted together into indicated stitches
- SC – Single crochet
- DC – Double crochet
- FPTR – Front post treble crochet
- FO – Finish off
Gauge
Due to the nature of the varying stitch patterns in this free crochet headband pattern, gauge will be listed by a starting CH measurement, width measurement after the first section is worked, and a total height for one repeat of the stitch pattern.
- Newborn Size
- Starting CH – 5”
- Width after ripple section – 5”
- Height of first stitch pattern repeat – 7”
- Baby Size
- Starting CH – 7 ½”
- Width after ripple section – 8”
- Height of first stitch pattern repeat – 8 ½”
- Child Size
- Starting CH – 7 ½”
- Width after ripple section – 8”
- Height of first stitch pattern repeat – 9 ½”
- Teen/Adult
- Starting CH – 11”
- Width after ripple section – 10”
- Height of first stitch pattern repeat – 7”
Measurements
- Newborn – 13” circumference x 2 ½” wide
- Baby – 16” circumference x 3.75” wide
- Child – 18” circumference x 3.75” wide
- Teen/Adult – 20” circumference x 5” wide
Notes
- This headband is worked flat (back and forth in rows) and then seamed up the length of the work to form a tube.
- Sizes are indicated by parenthesis respectively Newborn, Baby, Child, Teen/Adult
- Be sure to check out the other items in this collection including the beanie, cowl, and scarf.
- If you have any difficulty completing this free crochet headband pattern and would like support, please email me at aplushpineapple@gmail.com.
Special Stitches
Double Treble (DTR)
- YO 3x, insert hook into desired stitch and pull up a loop (5 loops on hook).
- YO, pull through two loops (4 loops on hook).
- YO, pull through two loops (3 loops on hook).
- YO, pull through two loops (2 loops on hook).
- YO, pull through last two loops.
Double Treble Group – DTR Group
- YO 3x, insert hook into desired stitch and pull up a loop (5 loops on hook).
- YO, pull through two loops (4 loops on hook).
- YO, pull through two loops (3 loops on hook).
- YO, pull through two loops (2 loops on hook).
- YO 3x, insert hook back into the same stitch and pull up a loop (6 loops on hook).
- YO, pull through two loops (5 loops on hook).
- YO, pull through two loops (4 loops on hook).
- YO, pull through two loops (3 loops on hook).
- YO 3x, insert hook back into the same stitch and pull up a loop (7 loops on hook).
- YO, pull through two loops (6 loops on hook).
- YO, pull through two loops (5 loops on hook).
- YO, pull through two loops (4 loops on hook).
- YO, pull through all four loops.
Double Treble Group Two Together (DTRGroup2tog)
- Create a DTR Group in desired stitch but do not pull through the last 4 loops.
- SK 5, create a DTR Group in next stitch.
- YO, pull through all 7 loops.
If you need assistance with the Mountain stitch, this written tutorial and tutorial video by Crafting for Weeks may be helpful.
Star Stitch
- To begin a row of star stitch, CH 3, pull up a loop in the 2nd and 3rd CH from the hook as well as the first three stitches of the row (6 loops on hook).
- YO, pull through all six loops, CH 1 to close the star.
- Each star after the first one is completed as follows: Pull up a loop in the CH 1 space, the last leg of the last star, the same stitch as the last leg of the last star, and in the next two stitches (6 loops on hook).
- YO, pull through all six loops, CH 1 to close the star.
If you need assistance with the Star Stitch, this written tutorial and tutorial video by Crafting for Weeks may be helpful.
Diamond Trellis Stitch
- Set up for the Diamond Trellis Stitch by completing a row of SC and then a row of DC.
- To begin the first row of cables for the Diamond Trellis, CH 1, FPTR around the 2nd SC post from the SC row.
- On main row, SK 1 (FPTR counts as that stitch), SC 3, FPTR two together by working a FPTR back around the last SC post worked from the SC row, DO NOT pull through the last two loops, SK 3 SC from the SC row, FPTR around next SC post from SC row, complete the stitch.
- Repeat the previous bullet until 5 stitches remain.
- SK 1, SC 3, FPTR back around the last SC post worked from the SC row, SC in last stitch on main row.
- Work another setup row of DC.
- CH 1, turn, SC 2.
- FPTR two together by working a FPTR around the last TR from the last cable row, DO NOT pull through the last two loops, FPTR around next TR from the last cable row.
- On main row, SK 1, SC 3.
- Repeat the last two bullets until 3 stitches remain on main row, SK 1, SC 2.
If you need assistance with the Diamond Trellis stitch, the tutorial video below may be helpful.
Free Crochet Headband Pattern
Row 1: CH 26 (38, 38, 50), working in the back bump of the CH, SC in 2nd CH from hook and in each CH across. (25, 37, 37, 49)
Ocean Ripples Section

Row 2: CH 1, turn, *HDC, SL ST*, repeat from * to * across row, HDC in the last stitch. (25, 37, 37, 49)
Row 3: CH 1, turn, *SL ST, HDC*, repeat from * to * across row, SL ST in the last stitch. (25, 37, 37, 49)
Child Size Only
Row 4-5: Repeat Rows 2-3.
*Keep in mind that you should always be placing a HDC into a SL ST from the previous row and vice versa. If this pattern is not manifesting in your stitches, your stitch count is off.*
All Sizes
Row 4 (4, 6, 4): CH 1, turn, SC in each stitch across. (25, 37, 37, 49)
Mountain Ridges Section
Row 5 (5, 7, 5): CH 5 (counts as a DTR), turn, SK 3, DTR Group in next stitch, *CH 5, beginning in same stitch as last, DTRGroup2tog*, repeat from * to * until 3 stitches remain, CH 5, DTR Group in same stitch as last, SK 2, DTR in last stitch. (1 DTR, (3, 6, 6, 7) DTR Group clusters, 1 DTR)
Row 6 (6, 8, 6): CH 1, turn, SC in the top of each DTR Group and in each CH. (25, 37, 37, 49)
*I like to work my SC into the CH versus around the CH when working into the CH space. I insert my hook under the top two loops (so essentially working into the back bump upside down). This is tricky to do but provides a cleaner look.*
Under the Stars Section
Row 7 (7, 9, 7): CH 3, turn, pull up a loop in 2nd and 3rd CH from hook and in the 1st three stitches (6 loops on hook), YO, pull through all six loops, *CH 1, pull up a loop in the CH 1 sp, the last leg of the previous star, the same stitch as the last leg of the previous star, and in the next two stitches (6 loops on hook), YO, pull through all six loops*, repeat from * to *, CH 1, HDC in last stitch (same stitch as last leg of last star). (12, 18, 18, 24 star clusters, 1 HDC)
Row 8 (8, 10, 8): CH 1, turn, 2 HDC in the CH 1 sp of each star cluster, HDC in top of the first leg of the last star cluster. (25, 37, 37, 49)
Child and Baby Sizes Only
Row 9-10, 11-12: Repeat previous two rows.
Be a Pineapple Section

Row 9 (11, 13, 9): CH 1, turn, SC in each stitch across. (25, 37, 37, 49)
Row 10 (12, 14, 10): CH 2, turn, DC in each stitch across. (25, 37, 37, 49)
Row 11 (13, 15, 11): CH 1, turn, FPTR around the 2nd SC post from previous row, *on main row, SK 1, SC 3, FPTR two together by working a FPTR back around the last SC post worked from previous row, DO NOT pull through the last two loops, SK 3 SC on previous row, FPTR around next SC post from previous row and complete the stitch*, repeat from * to * until 5 stitches remain on main row, SK 1, SC 3, begin FPTR back around the last SC post worked from previous row, do not pull through last two loops, SC in last stitch on main row. (12, 18, 18, 24 FPTR; 19, 28, 28, 37 SC)
Row 12 (14, 16, 12): CH 2, turn, DC in each stitch across. (25, 37, 37, 49)
Row 13 (15, 17, 13): CH 1, turn, SC 2, *FPTR two together by working a FPTR around the last TR post from previous row, DO NOT pull through the last two loops, FPTR around next TR post from previous row and complete the stitch, on main row, SK 1, SC 3*, repeat from * to * until 3 stitches remain on main row, SK 1, SC 2. (12, 18, 18, 24 FPTR; 19, 28, 28, 37 SC)
Row 14 (16, 18, 14): CH 1, turn, SC in each stitch across. (25, 37, 37, 49)
Repeat Sections
Row 15-16 (17-20, 19-22, 15-16): Repeat Under the Stars section.
Row 17-18 (21-22, 23-24, 17-18): Repeat Mountain Ridges section.
Row 19-21 (23-25, 25-29, 19-21): Repeat Ocean Ripples section.
*This ends the first entire repeat of the Pineapple & Pine stitch pattern. Repeat the stitch pattern the number of times indicated under the size you are working.*
Newborn
Repeat Rows 2-21 1x. Piece should measure 14”.
Baby
Repeat Rows 2-25 1x. Piece should measure 17”.
Child
Repeat Rows 2-29 1x. Piece should measure 19”.
Teen/Adult
Repeat Rows 2-21 2x. Piece should measure 21”. Leave a long tail (approximately 1 yard), FO.
Finishing
Insert the long tail into your darning needle. Using the mattress stitch, seam the two long sides together RS up to form one long tube.
You should now have a long tube that is open on each end. Next, you will seam the short ends together to form the headband. Lay one of the short ends on top of the other with one corner in the center of the other end as shown below. Half of each end should overlap. Be sure the tail is on one of the outer corners.
Weave in all ends.
If you make this free crochet headband pattern, please share it! I would love to see your work! You can tag me on Instagram and Facebook @aplushpineapple. Use the tags #aplushpineapple.

The photographs and pattern contained in this document are the property of A Plush Pineapple. Unauthorized reproduction, in whole or in part, or distribution of this pattern or content is prohibited. ALL FINISHED PRODUCTS created using this pattern may be sold locally or online. If selling finished products online, please give my blog credit for the pattern by posting a link to my website.